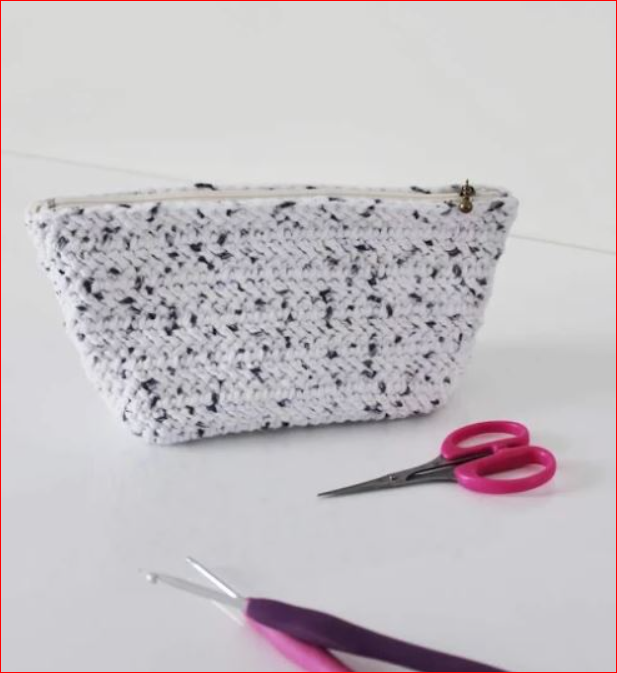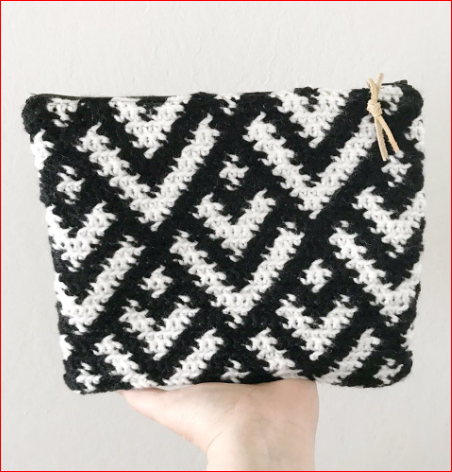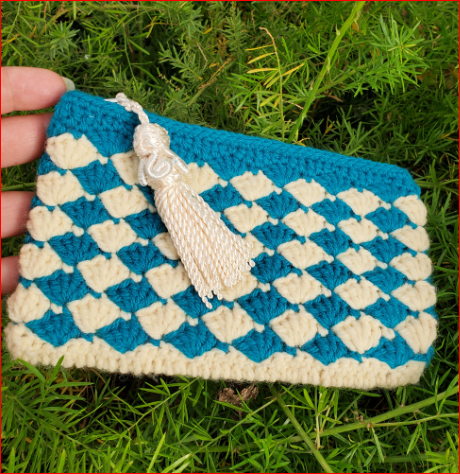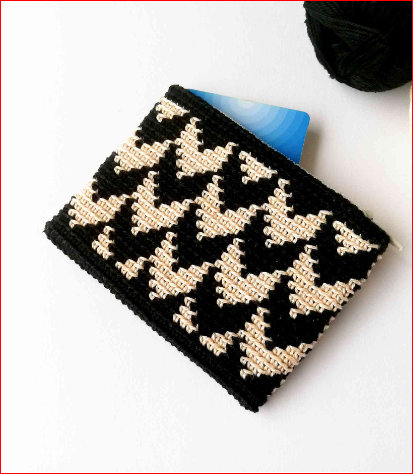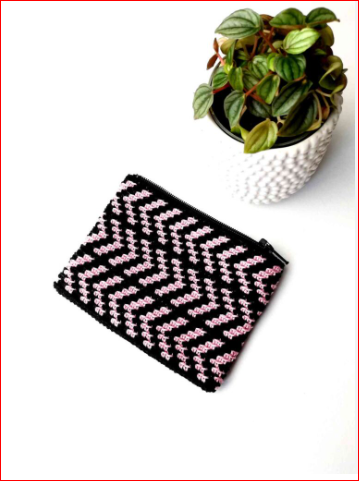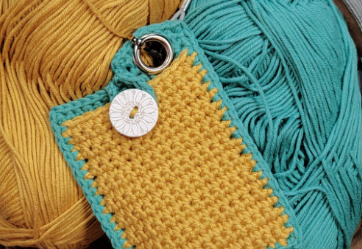
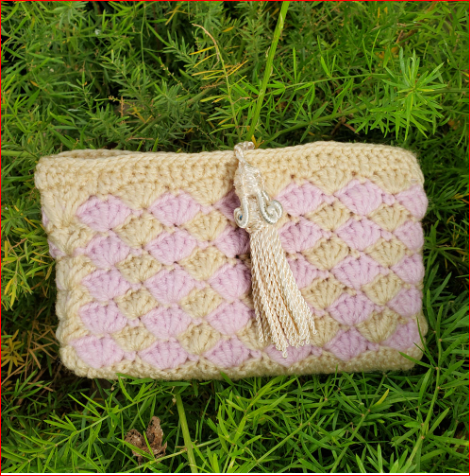
Hello Amigurumi followers, I wanted to share free amigurumi models with you on my Amigurumi mobi page. In my article, I share the Crochet Zipper Wallet Free Pattern for you. In the article on my page, I give detailed information about the Amigurumi pattern;Crochet Zipper Wallet Free Pattern.

Materials
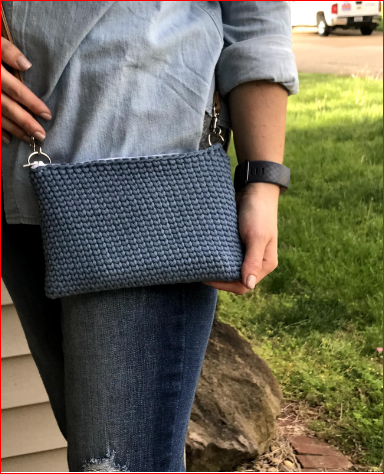
Cotton Yarn (I used the color, “salt and
pepper”)
4.0mm Crochet Hook
Zipper (9″ or whatever size is needed to cover the width of your
pouch once finished)
Yarn needle
Stitch markers
Scissors
Notes
nstead of using a yarn needle, I often like to use single crochet
stitches to seam up the sides
The herringbone double crochet stitches create a shallow zig-zag
edge rather than a straight edge. To make seaming up the sides
easier, I added a row of single crochets along the edge of the
herringbone double crochet rows so I have a straight edge to work
with.
The zipper is sewn onto the pouch at the end.
The stitches for this pouch are dense enough that it’s not required
to have a fabric lining, but it is definitely optional if you like.
Stitches & Abbreviations
St/sts – stitch/stitches
ch – chain
sc – single crochet
hbdc – double crochet
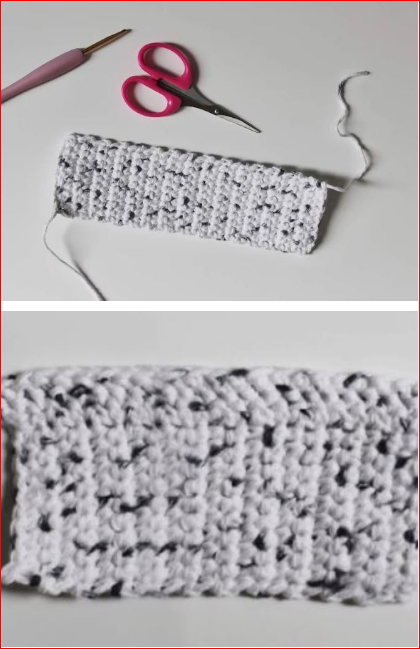
Base
Ch 11
Row 1: Sc into the second ch from the hook, sc across (10 sc)
Row 2-22: Ch 1, turn, sc across (10 sc)
Cut and fasten off.
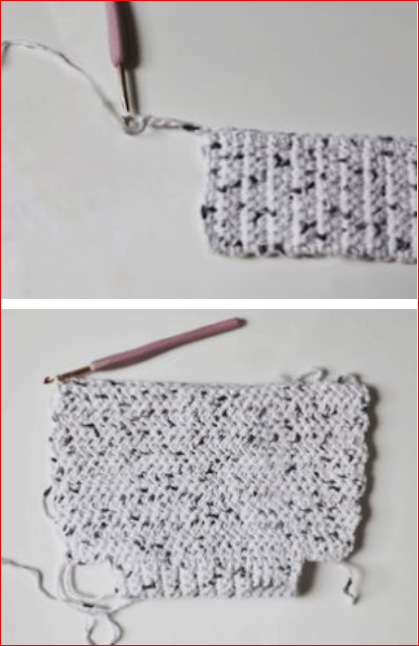
Side of pouch
Row 1: Ch 5, sc into the corner of the base piece and across the long
edge (22 sc), ch 7
Row 2: Hbdc into the second ch from the hook, hbdc into the next 4
ch, hbdc into the next 22 sc sts, hbdc into the last 5 ch (32 sts)
Row 3-13: Ch 2, turn, hbdc across (32 sts)
Cut and fasten off, and do the same thing on the other side of the base.
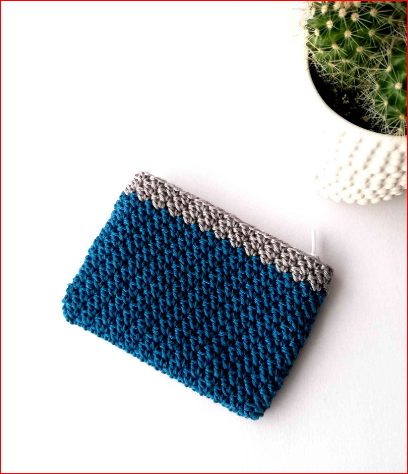
Assembly
- Fold the piece in half and sew or sc the two sides together only
on the edges of the hbdc. See the top 2 photos below (18 sc
sts) - You are then left with a hole in the bottom two corners of the
pouch. Pinch the hole to make a T-shape seam, creating a flat
bottom for the pouch. Sew or sc the two bottom corners. See
the bottom 2 photos below (10 sc sts)
All Finished.