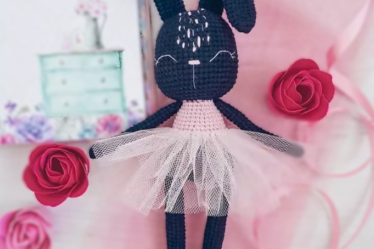
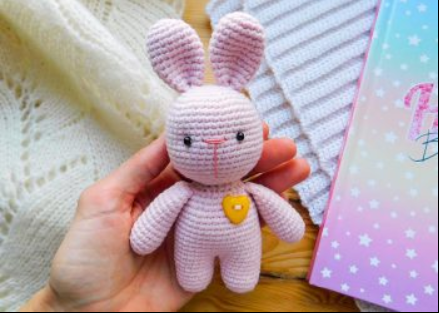
Hello Amigurumi followers, I wanted to share free amigurumi models with you on my Amigurumi mobi page. In my article, I share the Bunny Toy Crochet Amigurumi Adeline Free Pattern for you. In the article on my page, I give detailed information about the Amigurumi pattern;Bunny Toy Crochet Amigurumi Adeline Free Pattern.

Necessary materials
• Filler for toys (synthetic winterizer, synthetic winterizer, or holofiber).
• Semi-cotton yarn (or any of your choice).
• Cotton yarn (thin) for embroidering the spout of a toy.
• Beads for the eyes (or eyes on a secure mount, 4 mm).
• Hook number 1.5.
Abbreviations
MR- magic ring
sc- single crochet
inc- increase
dec- decrease
• Dimensions: about 15 cm including the length of the ears.
• The size of the toy depends on the thickness of the yarn used, the density of knitting and the number of the hook.
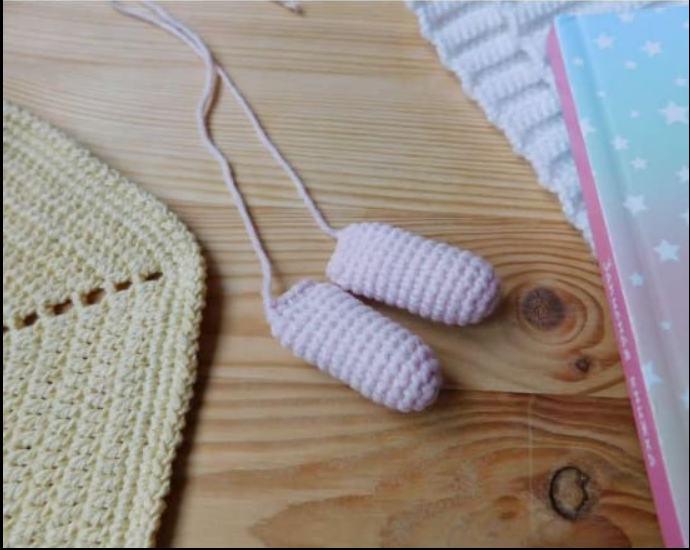
Arms (Make 2)
Rnd 1. 6 sc in MR
Rnd 2. (inc)*6 = 12 sc
Rnd 3. (3 sc, inc)*3 = 15 sc
Rnd 4-13. (10 rnds) 15 sc
Rnd 14. (3 sc, dec)*3 = 12 sc
Rnd 15. Fold the part in half at the top, crochet 5 sc, inserting the hook into both halves of the part.
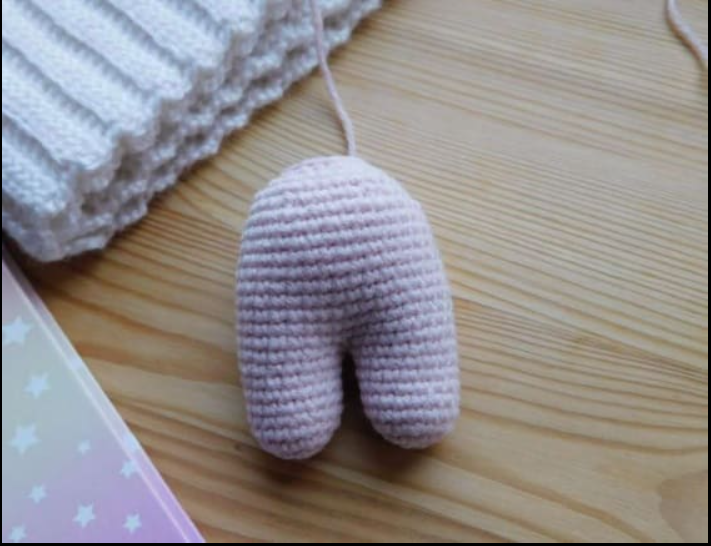
Legs
Left leg
Rnd 1. 6 sc in MR
Rnd 2. (inc)*6 = 12 sc
Rnd 3. (sc, inc) х 6 = 18 sc
Rnd 4-9. (6 rnds) 18 sc
At the end of the 9th row, crochet ch, pull the thread through ch, cut.
Right leg
Rnd 1. 6 sc in MR
Rnd 2. (inc)*6 = 12 sc
Rnd 3. (sc, inc) х 6 = 18 sc
Rnd 4-9. (6 rnds) 18 sc
Next, we connect the legs, applying tightly one leg to the other.
Rnd 10. 18 sc on the left leg, 18 sc on the right leg = 36 sc
We put a marker.
Please note that further rows begin along the back of the toy.
Rnd 11-20. (10 rnds) 36 sc
Rnd 21. (4 sc, dec)*6 = 30 sc
Rnd 22. 30 sc
Rnd 23. (3 sc, dec)*6 = 24 sc
Rnd 24. (2 sc, dec)*6 = 18 sc
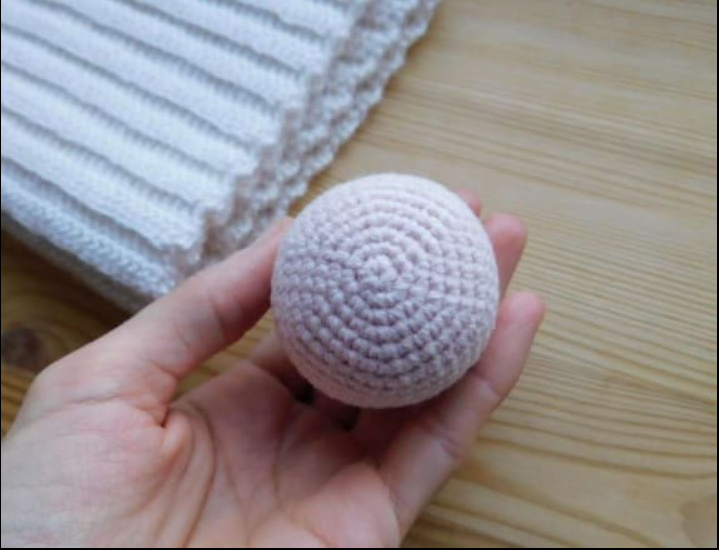
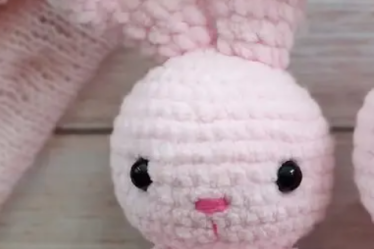
Head
We crochet with a separate detail, we start from the crown.
Rnd 1. 6 sc in MR
Rnd 2. (inc)*6 = 12 sc
Rnd 3. (1 sc, inc)*6 = 18 sc
Rnd 4. (2 sc, inc)*6 = 24 sc
Rnd 5. (3 sc, inc)*6 = 30 sc
Rnd 6. (4 sc, inc)*6 = 36 sc
Rnd 7. (5 sc, inc)*6 = 42 sc
Rnd 8-18. (11 rnds) 42 sc
Rnd 19. (5 sc, dec)*6 = 36 sc
Rnd 20. (4 sc, dec)*6 = 30 sc
Rnd 21. (3 sc, dec)*6 = 24 sc
Rnd 22. (2 sc, dec)*6 = 18 sc
Insert the eyes (if you chose the eyes on a secure mount) between the 12th and 13th rows.
The distance between the eyes is 5 loops.
Eye size 4 mm.
If desired, the eyes can be inserted (or sewn) a row higher, i.e. between the 11th and 12th rows.
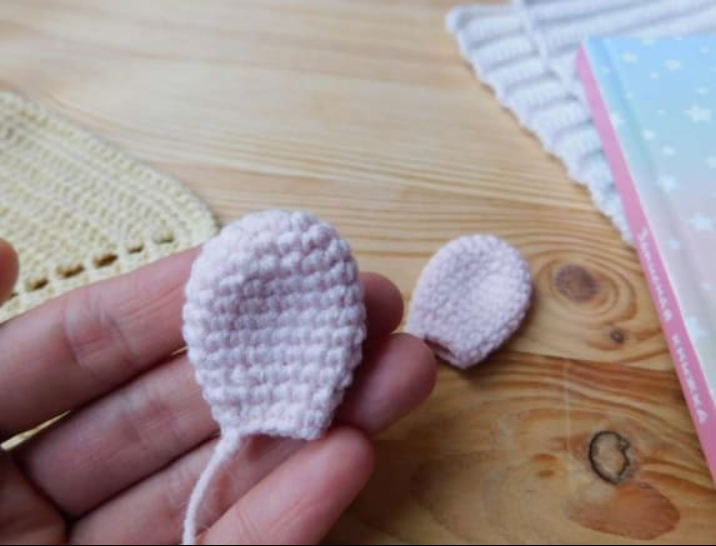
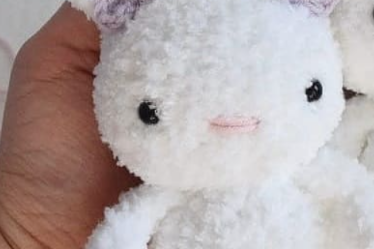
Ears (Make 2)
Rnd 1. 6 sc in MR
Rnd 2. (inc)*6 = 12 sc
Rnd 3. (sc, inc)*6 = 18 sc
Rnd 4-8 (5 rnds) 18 sc
Rnd 9. (4 sc, dec)*3 = 15 sc
Rnd 10. 15 sc
Rnd 11. (3 sc, dec)*3
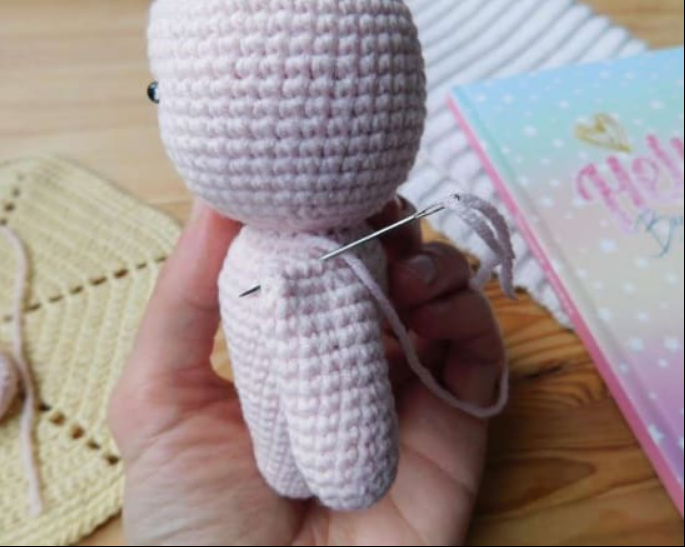
Assembly
• Sew the head to the body.
• We sew handles between the 22nd and 23rd rows.
• Sew on the eyes, embroider the nose with a thin thread.
• Sew on the ears.
• We decorate the bunny with a button or ribbon.
All Finished.