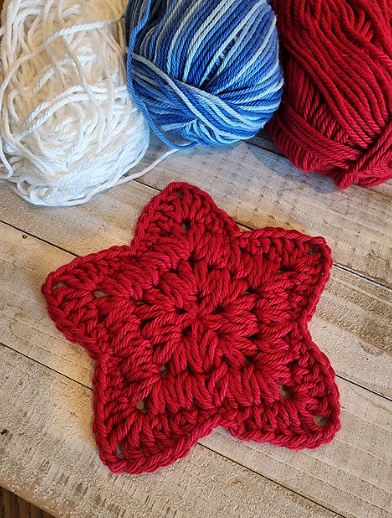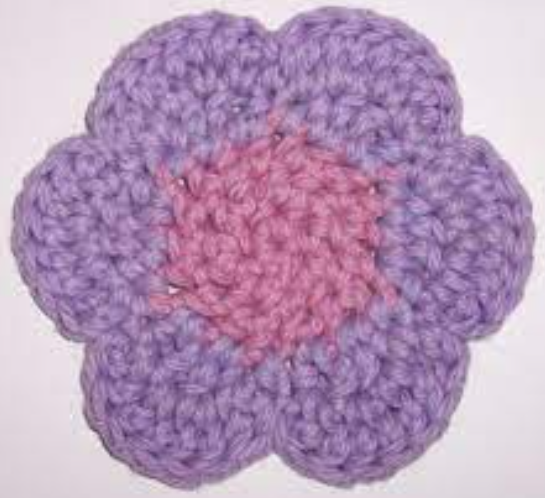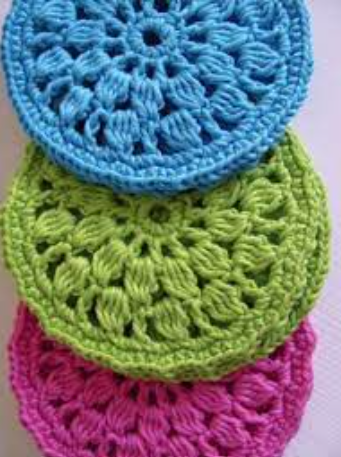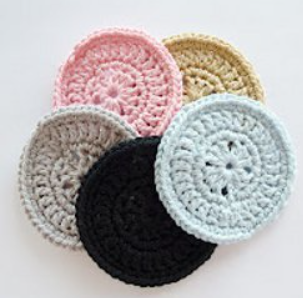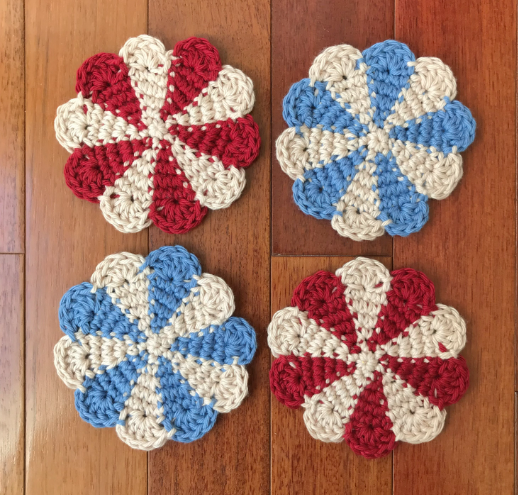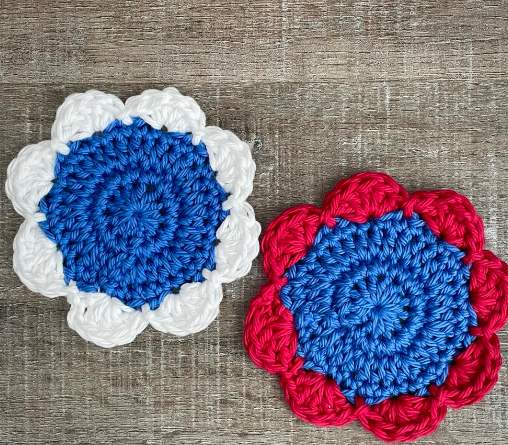

Hello Amigurumi followers, I wanted to share free amigurumi models with you on my Amigurumi mobi page. In my article, I share the Crochet Knitting Coaster Pattern for you. In the article on my page, I give detailed information about the Amigurumi pattern; Crochet Knitting Coaster Pattern.
Materials for one product:
- stone yarn 100% clap Sugar ’ n’Cream: 4 yards of yellow yarn ( 1 yard = 91.44 cm ) ( central circle of flower ), 15 yards of white yarn;
- hook 3.75 mm;
- yarn needle.
Abbreviations Used:
VP – air loop
SS – connection column
SBN – pillar without cape
PSSN – half-column with nakid
SSN – cape with cape
Note: the yellow center of the cup holder fits in with ongoing rows, without joining at the end of each row. It is useful to use a marker to mark the first loop of each row.
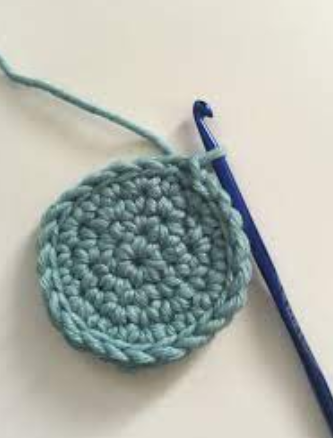
Row 1. Take the yellow yarn, 2 VP, 6 SBN in the second loop from the hook, do not close the row ( 6 SBN ).
Row 2. 2 SBN in each loop in a circle, do not close the row ( 12 SBN ).
Row 3. *2 SBN in the next loop, SBN in the next *, repeat from * to * in a circle, do not close the row ( 18 SBN ).
Row 4. *2 SBN in the next loop, SBN in the next 2 loops *, repeat from * to * in a circle, connect with the help of the SS with the initial column. Complete the knitting of yellow yarn ( 24 SBN ).
Row 5. Take the white yarn, attach the thread using the SS anywhere, 1 VP, SBN to the same loop into which the thread is attached, in the next loop, work as follows: ( SBN, 5 VP, SBN in 4th from the hook loop and SBN in the last loop, then SBN in the same loop as the first SBN ) ( the completed first paragraph is shown in the photo below ), SBN in the following loop, 1 VP, * SBN in the next loop, in the next loop, work as follows: SBN, 5 VP, SBN in 4th from the hook loop and SBN in the last loop, then SBN in the same loop as the first SBN ), SBN in the next loop, repeat from * to * in a circle, connect using the SS with the initial column ( 32 SBN in the circle ( excluding petals ), 8 gaps in 1 VP, 8 petals ).

Photo 1. SBN, 5 VP
Photo 2-3. SBN, 4th from the hook, loop and SBN in the last loop [ by missing 3 loops, make the space at the top of the petal, which will be tied in the next row ].
Photo 4. SBN in the same loop as the first SBN
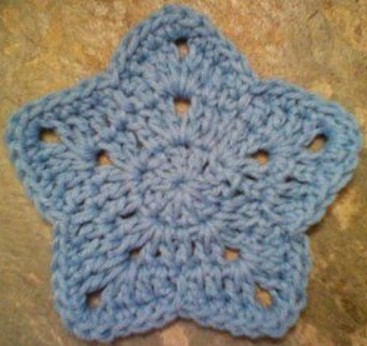
Photo 5. Completed row – 8 petals.
Row 6. Skip the first two loops, then work on the right side of the first petal, ( PSSN, STSN ) in the first loop ( photo 1 ), 2 STS in the next loop ( photo 2 ), 4 STS in the interval at the top of the petal ( photo 3 ), then work down the left side of the petal, 2 STSN in the next loop ( photo 4 ), ( SSSN, PSSN ) in the last loop ( photo 5 ), skip the next two loops in a circle, SS in the interval of 1 VP ( photo 6 ), * skip the next two loops, then work on the right side of the next petal, ( PSSN, CCN ) in the first loop, 2 SSS in the next loop, 4 SSS in the interval at the top of the petal, then work down the left side of the petal, 2 STS to the next loop, ( SSSN, PSSN ) to the last loop, skip the next two loops in a circle, SS in the interval of 1 VP, repeat from * to * in a circle. Tear off the thread, hide all the ends.
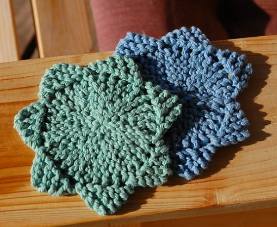
The photo below shows the stages of knitting the first petal. The petals fit in with white yarn, but for clarity, the author used the green thread in these photos to make it easier to view the hinges.

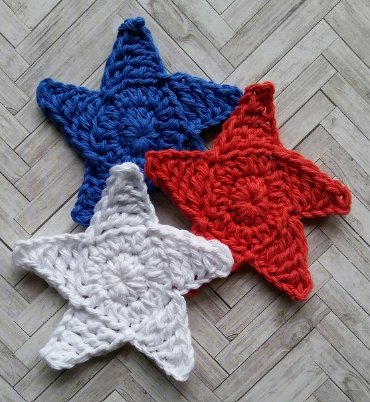
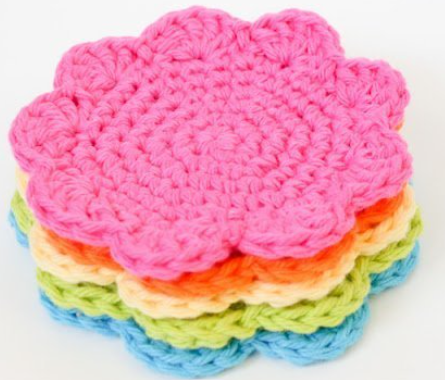
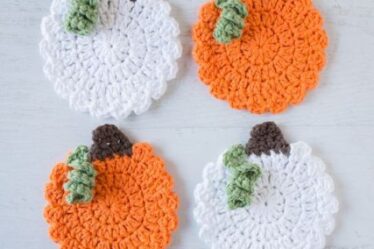
All Finished.