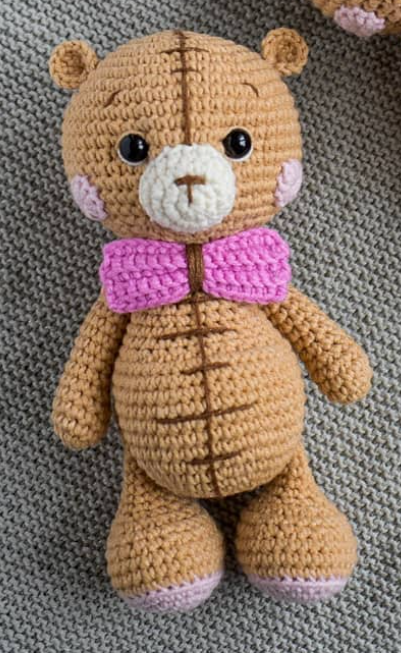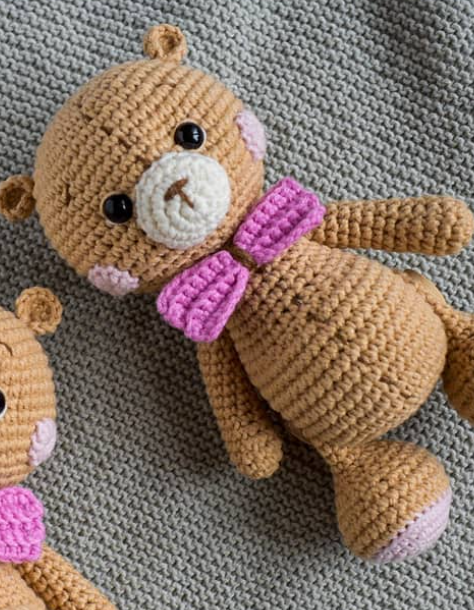
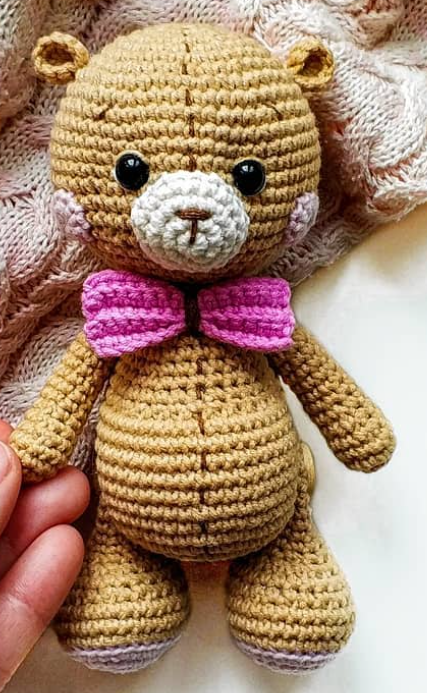
Hello Amigurumi followers, I wanted to share free amigurumi models with you on my Amigurumi mobi page. In my article, I share the Crochet teddy bear with bow tie for you. In the article on my page, I give detailed information about the Amigurumi pattern;Crochet teddy bear with bow tie.

Materials:
- YarnArt Jeans yarn: beige (№07), pink (№18), bright pink (№20), white (№03), brown (№40)
- 2.00 mm crochet hook
- 8 mm half beads
- Buttons for joining arms and legs (4 pcs)
- Fabric glue
- Sewing needle
- Scissors
- Fiberfill
Abbreviations:
R = row
mc = magic circle
ch = chain
sc = single crochet
hdc = half double crochet
sl st = slip stitch
inc = 2 sc in the next stitch
dec = single crochet 2 stitches together
BLO = back loop only
F.o. = finish off
(…)*6 = repeat whatever is between the brackets the number of times stated
(12) = number of stitches you should have at the end of the round/row
Amigurumi bear free crochet pattern
Head
With beige yarn:
R 1: 6 sc in mc (6)
R 2: inc*6 (12)
R 3: (1 sc, inc)*6 (18)
R 4: 1 sc, inc, (2 sc, inc)*5, 1 sc (24)
R 5: (3 sc, inc)*6 (30)
R 6: 2 sc, inc, (4 sc, inc)*5, 2 sc (36)
R 7: (5 sc, inc)*6 (42)
R 8: 3 sc, inc, (6 sc, inc)*5, 3 sc (48)
R 9: (7 sc, inc)*6 (54)
R 10-17: 54 sc (8 rows)
R 18: (7 sc, dec)*6 (48)
R 19: 3 sc, dec, (6 sc, dec)*5, 3 sc (42)
R 20: (5 sc, dec)*6 (36)
R 21: 2 sc, dec, (4 sc, dec)*5, 2 sc (30)
R 22: (3 sc, dec)*6 (24)
R 23: 1 sc, dec, (2 sc, dec)*5, 1 sc (18)
R 24: (1 sc, dec)*6 (12)
Stuff with fiberfill.
R 25: dec*6 (6)
F.o.
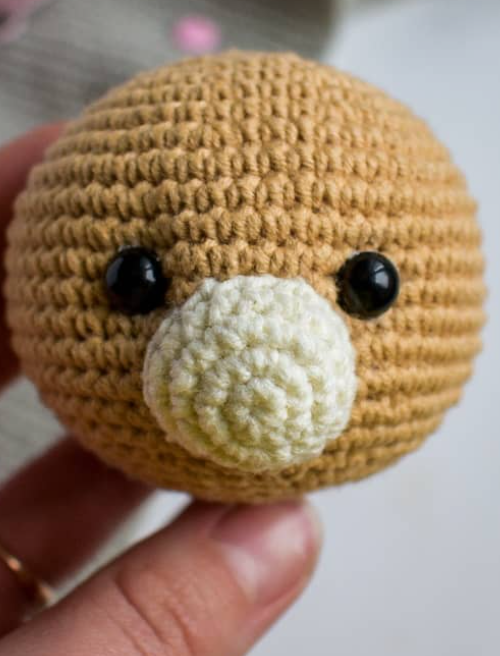
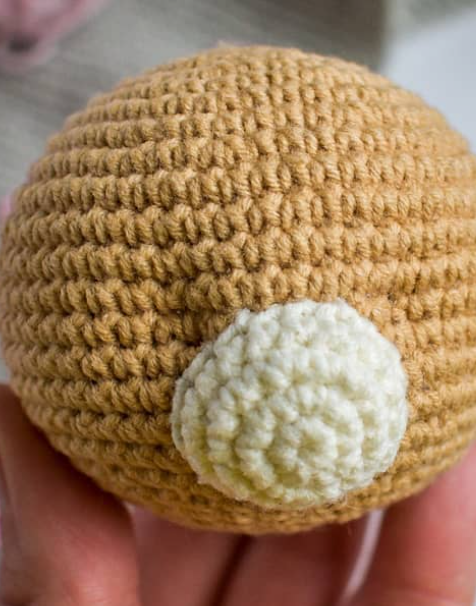
Muzzle
With white yarn:
R 1: 6 sc in mc (6)
R 2: inc*6 (12)
R 3: (1 sc, inc)*6 (18)
R 4: 18 sc
F.o. and leave a long tail for sewing.
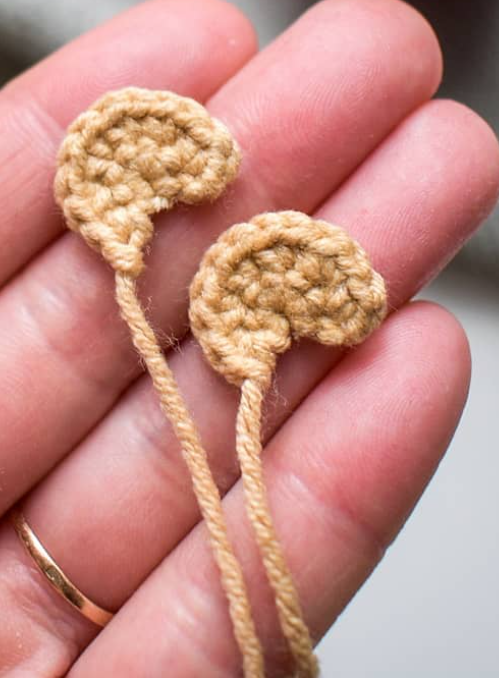
Ears (make 2)
With white yarn:
R 1: 6 sc in mc, 1 turning chain
R 2: inc*6 (12)
F.o. and leave a long tail for sewing.
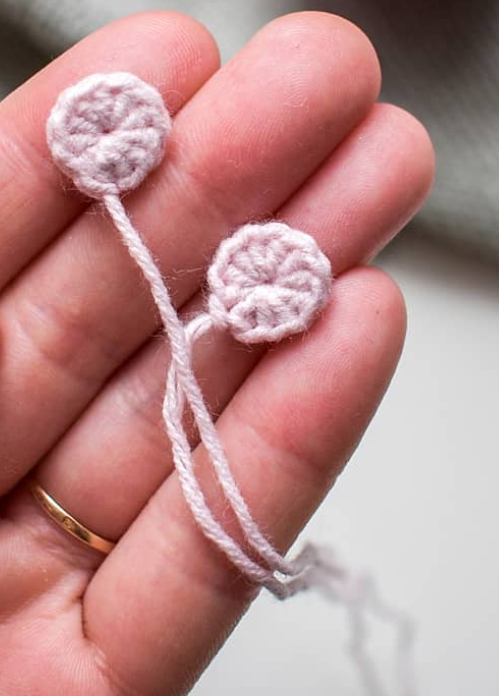
Cheeks (make 2)
With pink yarn:
Make a magic circle amigurumi.
1: 2 ch in mc, 10 hdc, join in a ring with sl st in 2nd ch.
F.o. and leave a long tail for sewing.
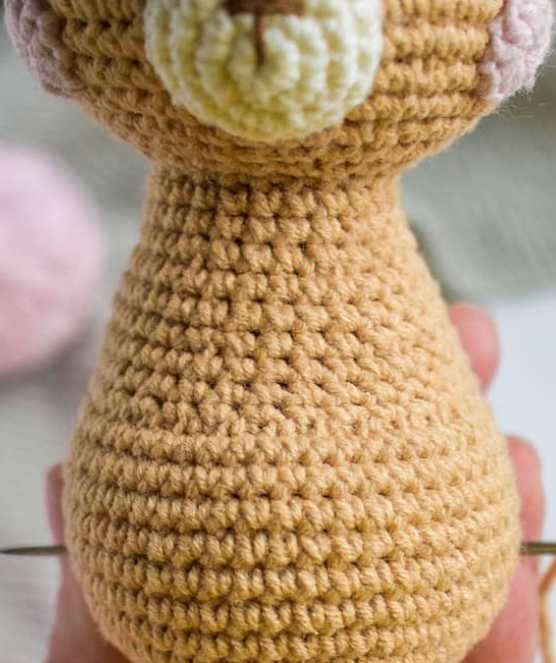
Body
With beige yarn:
R 1: 6 sc in mc (6)
R 2: inc*6 (12)
R 3: (1 sc, inc)*6 (18)
R 4: 1 sc, inc, (2 sc, inc)*5, 1 sc (24)
R 5: (3 sc, inc)*6 (30)
R 6: 2 sc, inc, (4 sc, inc)*5, 2 sc (36)
R 7: (5 sc, inc)*6 (42)
R 8: 3 sc, inc, (6 sc, inc)*5, 3 sc (48)
R 9-16: 48 sc (8 rows)
R 17: 12 sc, 12 dec, 12 sc (36)
R 18-19: 36 sc (2 rows)
R 20: 2 sc, dec, (4 sc, dec)*5, 2 sc (30)
R 21-22: 30 sc (2 rows)
R 23: (3 sc, dec)*6 (24)
R 24-25: 24 sc (2 rows)
Stuff with fiberfill.
F.o. and leave a long tail for sewing.
Arms (make 2)
With beige yarn:
R 1: 6 sc in mc (6)
R 2: inc*6 (12)
R 3-4: 12 sc (2 rows)
R 5: dec, 10 sc (11)
R 6: dec, 9 sc (10)
R 7: dec, 8 sc (9)
R 8-15: 9 sc (8 rows)
Stuff with fiberfill.
R 16: (1 sc, dec)*3 (6)
F.o.
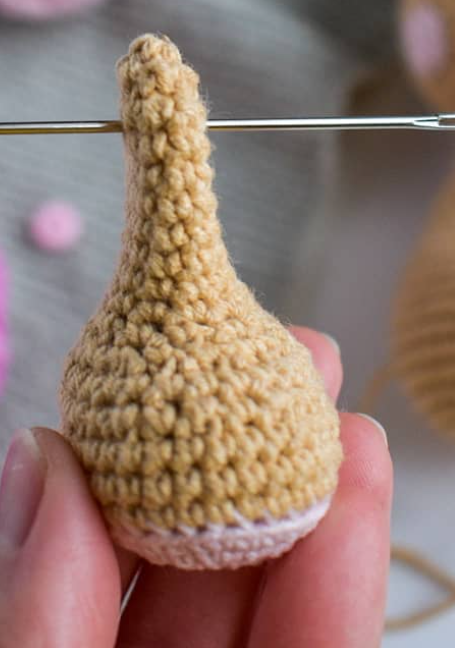
Legs (make 2)
With pink yarn:
Make 6 ch.
Make an oval starting from the 2nd ch from hook, work on both sides of the chain.
R 1: From the 2nd ch from hook: 4 sc, 3 sc in last st, turn and crochet on the opposite side of the chain: 3 sc, inc (12)
R 2: inc, 3 sc, 3 inc, 3 sc, 2 inc (18)
R 3: 1 sc, inc, 3 sc, (1 sc, inc)*3, 3 sc, (1 sc, inc)*2 (24)
R 4: 2 sc, inc, 3 sc, (2 sc, inc)*3, 3 sc, (2 sc, inc)*2 (30)
Change to beige yarn:
R 5: BLO 30 sc
R 6-7: 30 sc (2 rows)
R 8: 4 sc, dec, (1 sc, dec)*5, 9 sc (24)
R 9: 24 sc
R 10: 4 sc, dec, 1 sc, 4 dec, 1 sc, dec, 6 sc (18)
R 11: (1 sc, dec)*6 (12)
Stuff with fiberfill.
R 12-19: 12 sc (8 rows)
R 20: dec*6 (6)
Stuff leg ¾ full.
F.o.
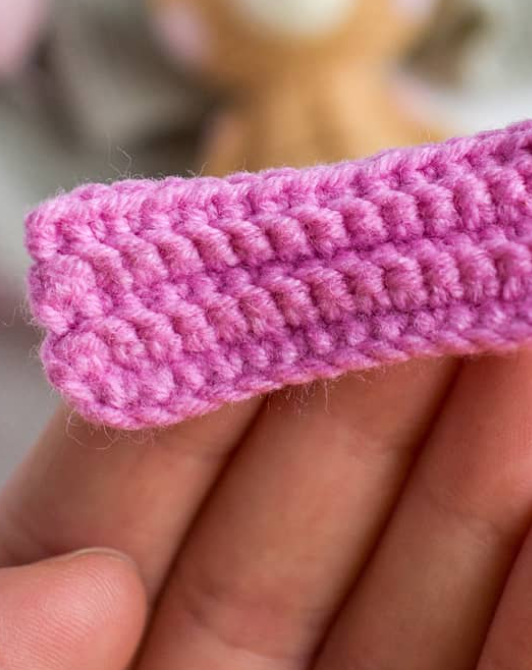
Bow
With bright pink yarn:
Make 16 ch.
R 1: From the 2nd ch from hook: 15 sc, 1 turning chain
R 2: BLO, 15 sc, 1 turning chain
R 3: BLO, 15 sc, 1 turning chain
R 4: BLO, 15 sc, 1 turning chain
R 5: BLO, 15 sc
F.o.
Wrap the middle of the bow multiple times with brown yarn and sew to the body
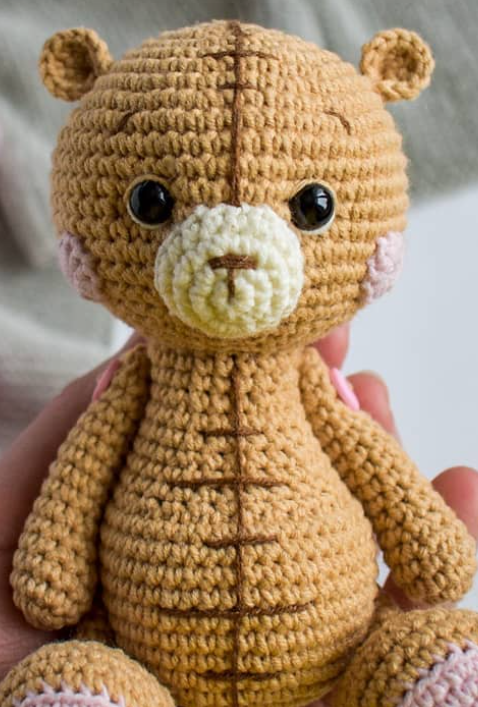
Assembly
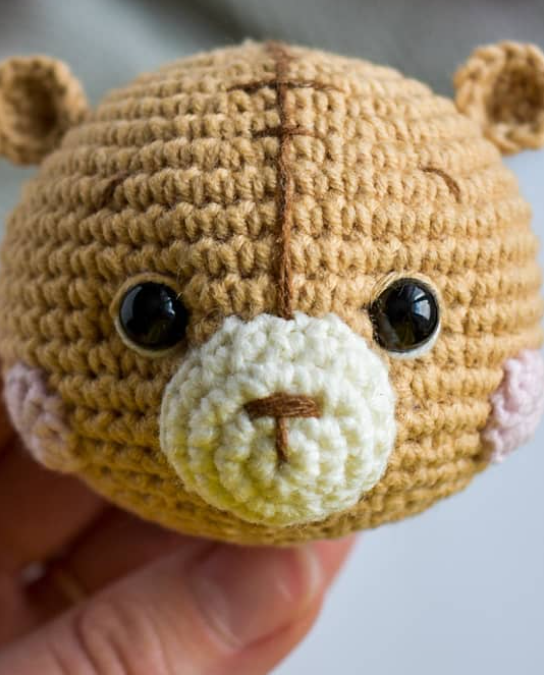
1. Sew muzzle to the head between R 13 and R 29. Put some stuffing inside the muzzle before you finish.
2. Glue eyes between R 13 and R 14 at the distance of 6 stitches from each other.
3. Embroider eye whites with white yarn, embroider eyelids with beige yarn. Embroider nose and eyebrows with brown yarn.
4. Sew cheeks on the head between R 15 and R 19 of the head at the distance of 4 stitches from muzzle.
5. Fold the ear edges together and fix them in such position with one stitch. Sew ears to the head on R 8.
6. Sew head to the body. Stuff firmly the neck area. A firmly stuffed neck will hold the head up.
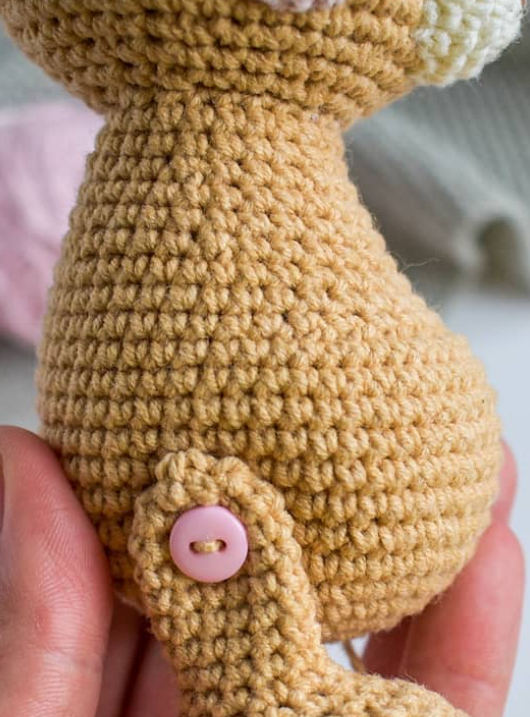
7. Attach arms and legs using buttons. View video tutorial >>>
(Find position on your bears body where the legs/arms will be attached: for legs – between R 9 and 10 of the body, for arms – between R 21 and 22 of the body and between R 14 and 15 of arm).
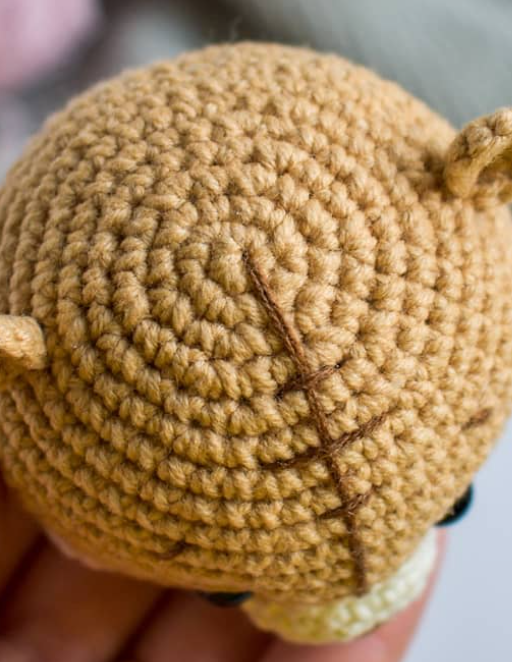
8. Embroider a head and a belly with brown yarn.