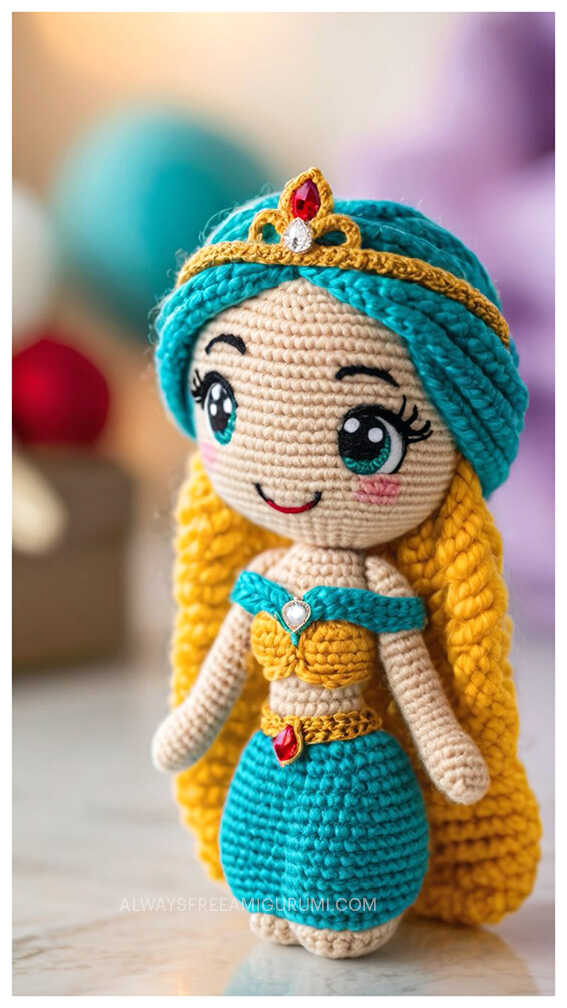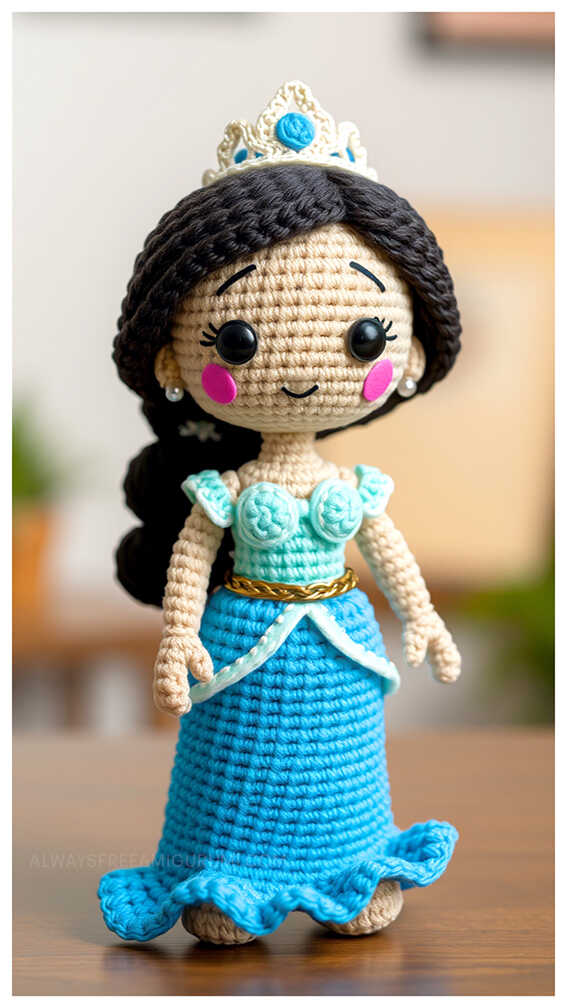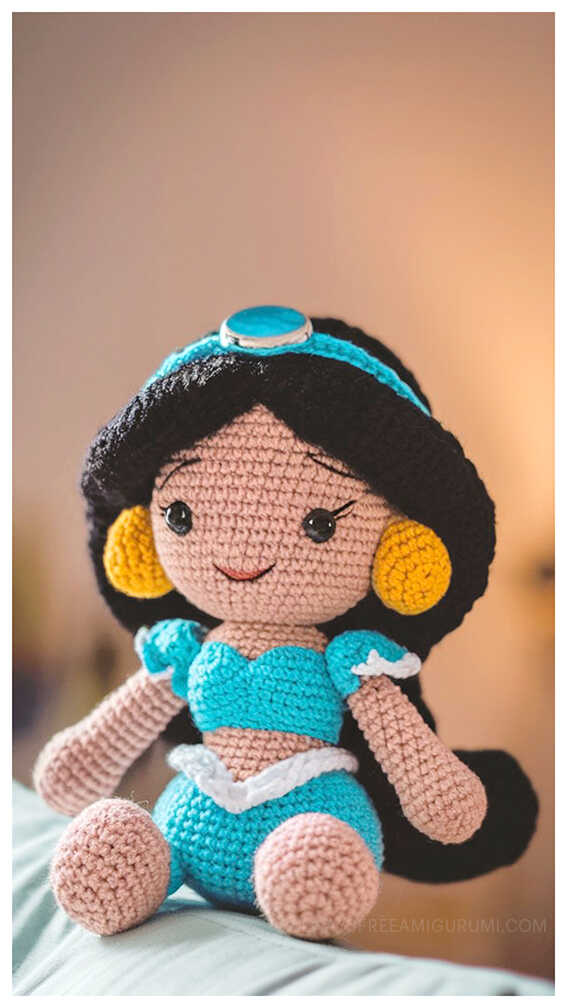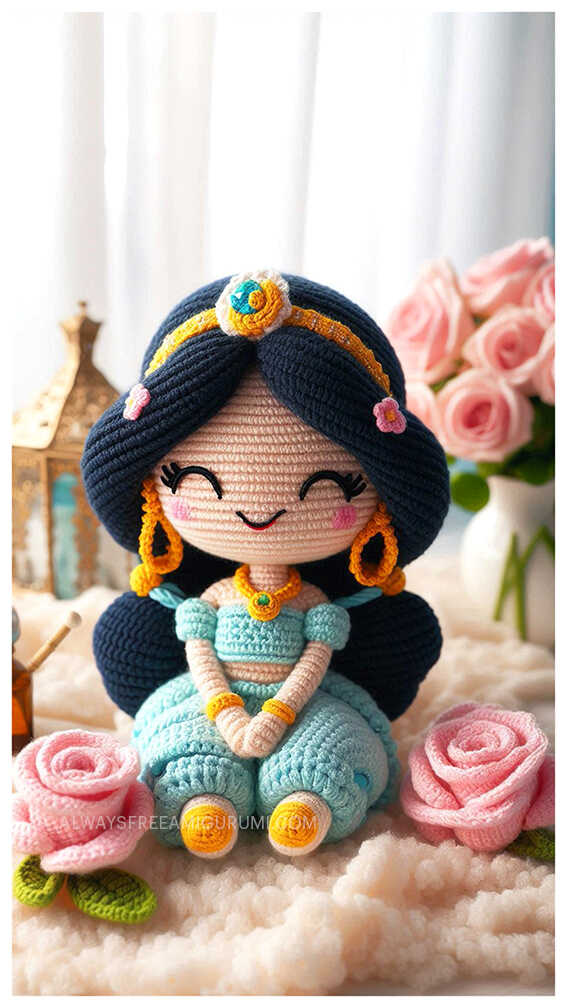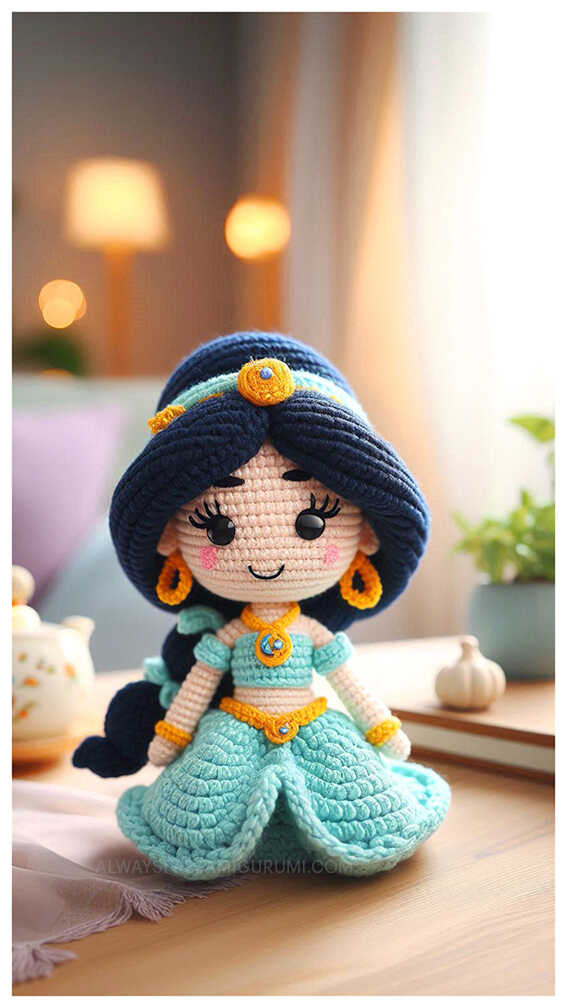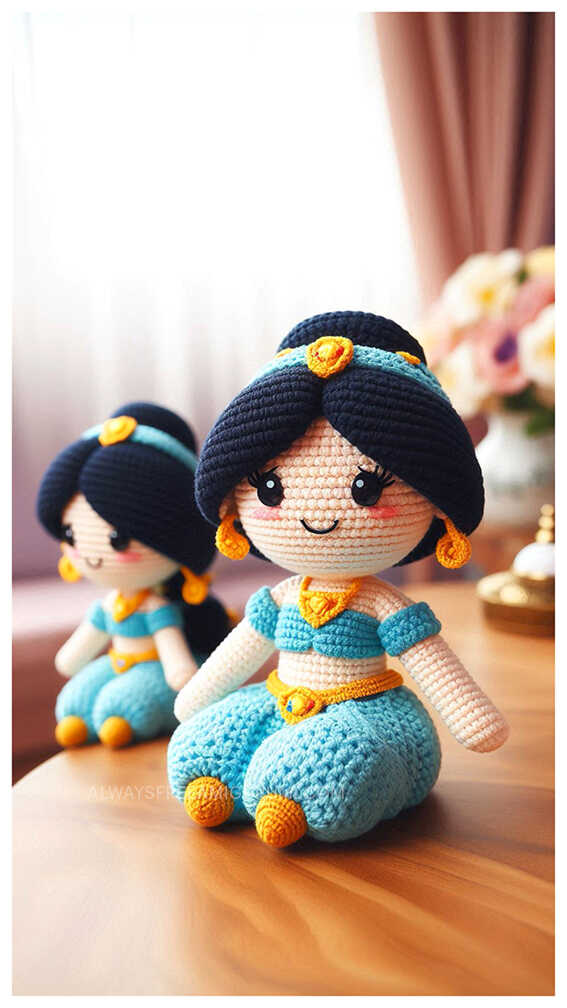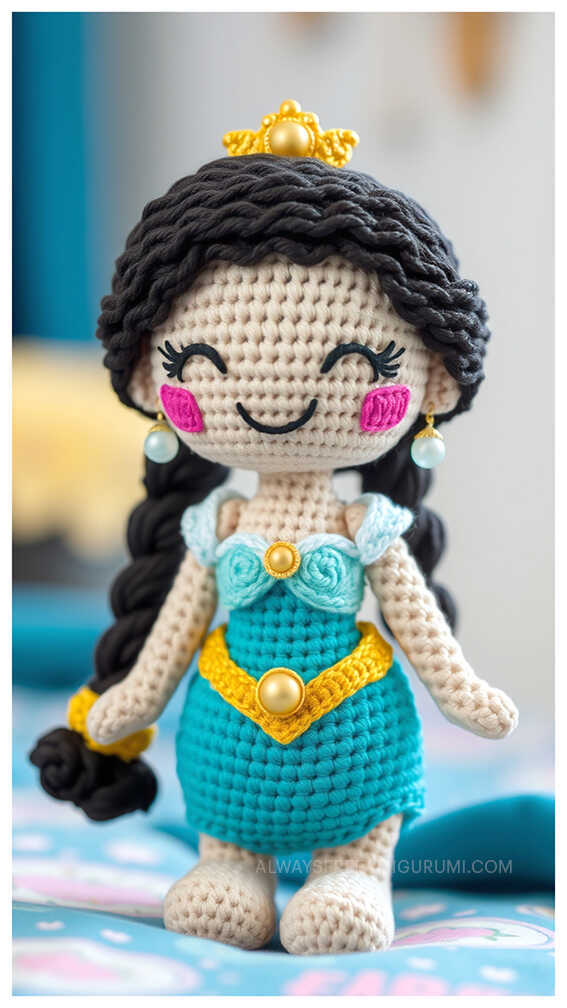

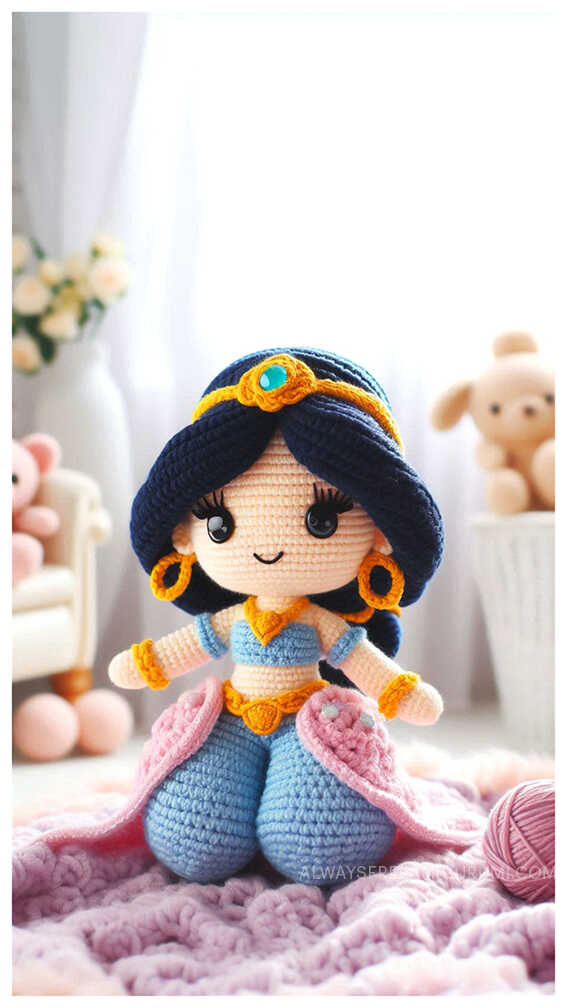
Hello Amigurumi followers, I wanted to share free amigurumi models with you on my Amigurumi mobi page. In my article, I share the Princess Jasmine Amigurumi Crochet Free Pattern for you. In the article on my page, I give detailed information about the Amigurumi pattern; Princess Jasmine Amigurumi Crochet Free Pattern.
Abbreviation
AM- Magic ring
sc- single
crochet slst- slip
stitch ch- chain
hdc- half double crochet
st- double crochet
inc- increase
dec- decrease
BLO- Through the back loop
FLO- Only the front loop
Row- row
() x n- repeat the parenthesis n number of times
Materials
Cotton or wool yarn of your choice in the colors: a skin color, light blue, pastel light blue, a little turquoise, yellow, mustard, a little white, black
Silicone stuffing
Crochet according to the thickness of your yarn
Back marker
Scissors
Sewing needle
8mm safety eyes (optional)
PRINCESS JASMINE CROCHET FREE PATTERN
Body
Legs (x2)
With light pastel blue
Row 1. AM 6sc (6)
Row 2. 6 inc (12)
Row 3. BLO 12sc (12)
Row 4. 3sc, 3 dec, 3sc (9)
Change to skin color
Row 5. BLO 9sc (9)
Row 6-12. 9sc (9)
The leg ends here, we leave a little thread that we will hide later
We knit the 2nd leg in the same way as the first one, this time we don’t cut the thread and we continue knitting 2 sc or as much as necessary to reach the inside, 3 ch and we continue in skin color
Row 13. 9 sc in the 1st leg, 3 sc in the ch, 9 sc in the 2nd leg, 3 sc in the ch (24)
Row 14-16. 24sc (24)
Row 17. 3sc, 1 dec (6sc, 1 dec)2, 3sc (21) Row 18. 21sc (21) Row 19. (5sc, 1 dec)3 (18)
Change to light blue
Row 20. BLO 18sc (18)
Row 21-22. 18sc (18)
Change to skin color
Row 23. BLO 2sc, 1 dec, (4sc, 1 dec)2, 2sc (15) Row 24. (3sc, 1 dec)3 (12)
Leave a tail long enough to sew at the height of Row 2 of the head
For this point, I recommend that you do not stuff the body yet
Pants
Just like the legs, you will make 2 pieces that you will then join to form the pants.
With light blue
12 ch join the first ch with a sl st
Row 1. 12sc (12)
Row 2. (3sc, 1 inc)*3 (15)
Row 3. 2sc, 1 inc, (4sc, 1 inc)*2, 2sc (18)
Row 4. 2sc, 1 dec, (4sc, 1 dec)*2, 2sc (15)
Row 5. (3sc, 1 dec)*3 (12)
Row 6-8. 12sc (12)
We make the second step and join it with sc to the first step
Row 9. 12 sc in the 1st leg, 12 sc in the 2nd leg (24)
Row 10. 24sc (24)
This is when we will introduce the body to the pantolon, so at this point it should not have any stuffing, if it is difficult for you, you can help with some pliers or tweezers
We continue knitting
Row 11. 3sc, 1 dec, (6sc, 1 dec)*2, 3sc (21)
Row 12. 21sc (21)
We close with a slst and leave a small thread that you will hide further with a needle
Waist trim
With light pastel blue
We make 2 strips
11ch, 10sl then
Sew between the hem of the pants and the waist
Head
With skin color
Row 1. AM 6sc (6)
Row 2. 6 inc (12)
Row 3. (1sc, 1 inc)*6 (18) Row
4. 1sc, 1 inc (2sc, 1 inc)*5, 1sc (24)
Row 5. (3sc, 1 inc)*6 (30)
Row 6. 2sc, 1 inc (4sc, 1 inc)*5, 2sc (36) Row
7. (5sc, 1 inc)*6 ( 42)
Row 8. 3sc, 1 inc (6sc, 1 inc)*5, 3sc (48)
Row 9. (7sc, 1 inc)*6 (54)
Row 10-18. 54sc (54)
Place safety eyes on row 11 with 9 sc separation
Row 19. (7sc, 1 dec)*6 (48)
Row 20. 3sc, 1 dec (6sc, 1 dec)*5, 3sc (42 )
Row 21. (5sc, 1 dec)*6 (36)
Row 22. 2sc, 1 dec (4sc, 1 dec)*5, 2sc (30)
Row 23. (3sc, 1 dec)*6 (24)
Row 24. 1sc, 1 dec (2sc, 1 dec)*5, 1sc (18)
Row 25. (1sc, 1 dec)*6 (12)
Row 27. 6 dec (6)
Leave a not too long thread to close, then hide the wire
Arms
With skin color
Row 1. AM 6sc (6)
Row 2-8. 6sc (6)
Sew them between rows 22 and 23
Top Dress
In the exposed FLO in round 20 and round 23, you have 18 sl sts, respectively.
Shoulder Ornament
Ch 7, sc 6, sew around arms, joining at top.
Hair
With black
Row 1. AM 6 sc (6)
Row 2. 6 inc (12)
Row 3. (1 sc, 1 inc)*6 (18)
Row 4. 1 sc, 1 inc (2 sc, 1 inc)*5, 1 sc (24)
Row 5. (3 sc, 1 inc)*6 (30)
We start the hair strands
In this case we will use the FLO and the BLO to make the wig strands
Hair strands 1-30. 31 ch, 30 hdc
You leave a point without knitting and in the next sl st
We start with the BLO to finish in the FLO
Sew on the head, positioning from the middle up. Leave 6 strands that will be the ones that will give the characteristic appearance of the jasmine
Sew the other strands strategically to form the ponytail, secure with light blue thread
Tie
With turquoise
Make 29 ch, 1slst, 1sc, 24 hdc, 1sc, 1 slst
Sew this piece behind the strands we left previously
Bandana Ornament
With mustard yellow
AM 4 sc with turquoise make a French knot in the middle. Sew or glue to the headband
Details
Embroider the eye mark with white
With black, simulate an outline
Embroider the eyebrows with black Glue
on golden pearls or make a French knot to simulate earrings
Embroider a necklace with mustard yellow, outlining only the part that we consider her neck, you can help with a drop of silicone
Add a little blush or pink eyeshadow to give a touch of warmth.
Congratulations, you have completed your amigurumi doll.
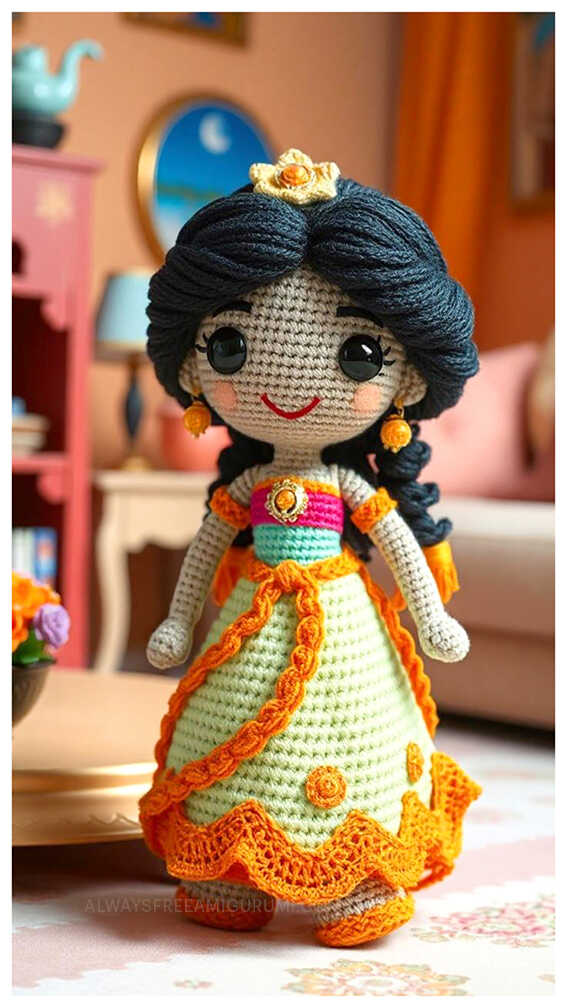
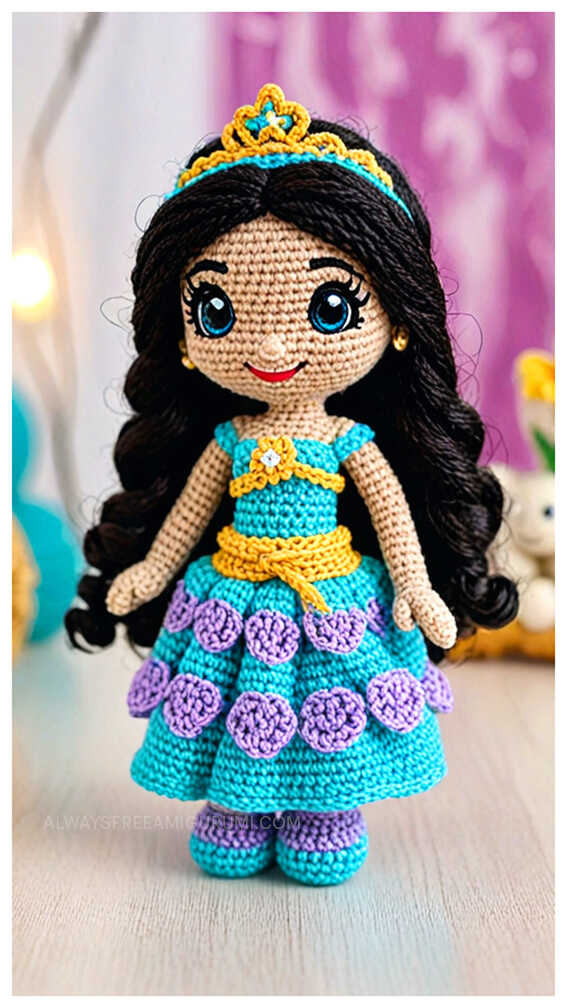
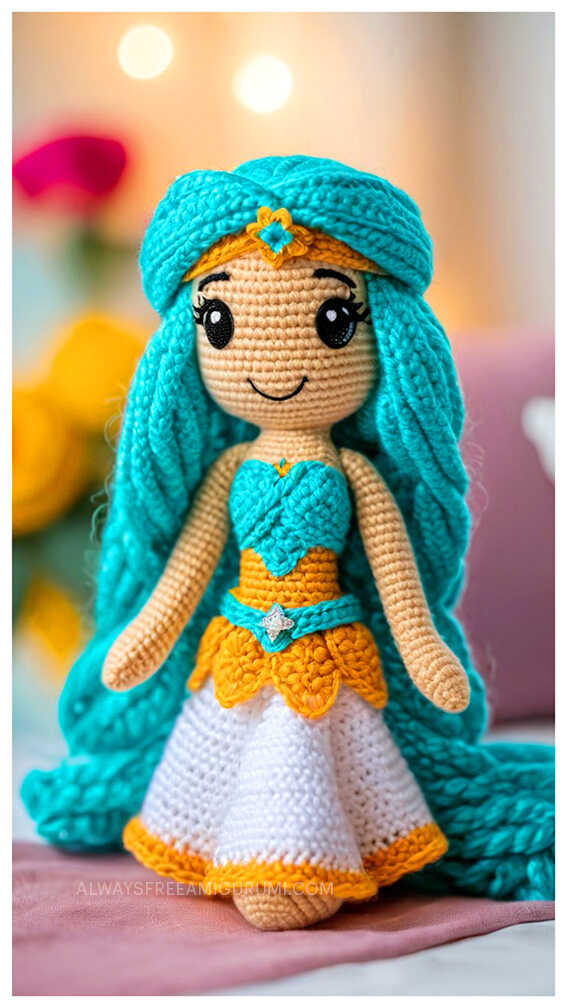
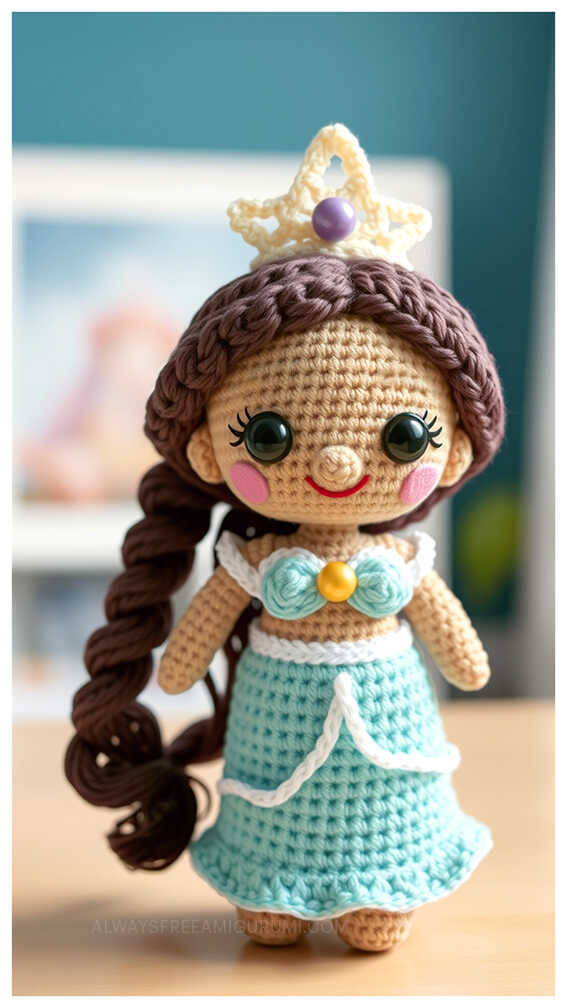
More amigurumi princess ideas: