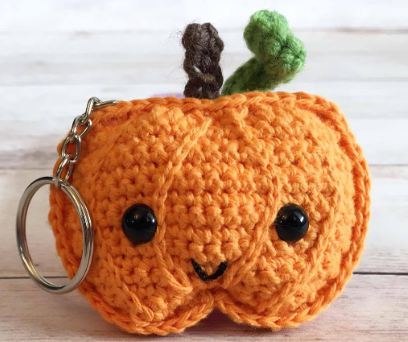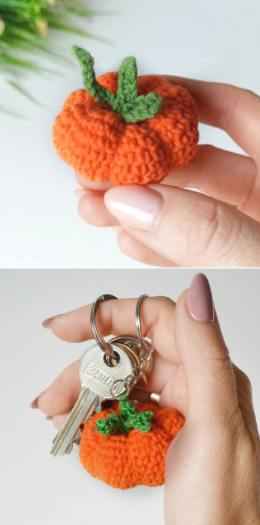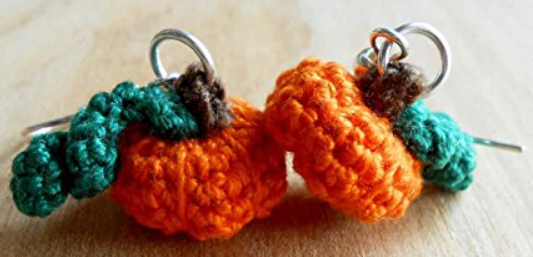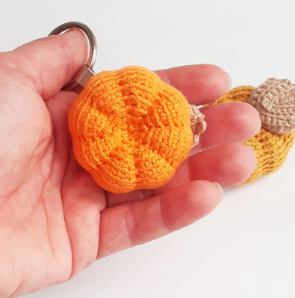

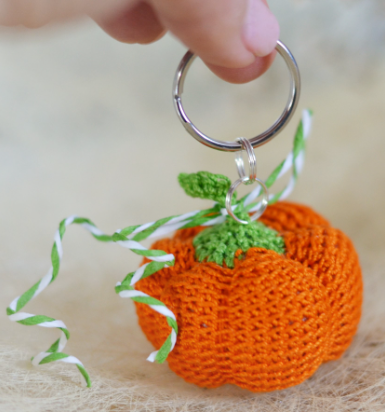
Hello Amigurumi followers, I wanted to share free amigurumi models with you on my Amigurumi mobi page. In my article, I share the Pumpkin Keychain Free Crochet Pattern for you. In the article on my page, I give detailed information about the Amigurumi pattern; Pumpkin Keychain Free Crochet Pattern.
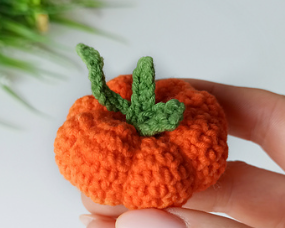
Stem (make 1) in Chocolate Tweed:
This time, for the stem, I used a worsted weight yarn (instead of light weight), so I had to scale it down a little. Here’s how I did it:
Row 1: Ch 2, sc (1 st)
Rows 2-6: Sc (1 st).
Subscribe to Spin a Yarn Crochet!
Get updates on the latest posts and more from Spin a Yarn Crochet straight to your inbox.SUBSCRIBEI consent to receiving emails and personalized ads.
Tie off and weave in ends.
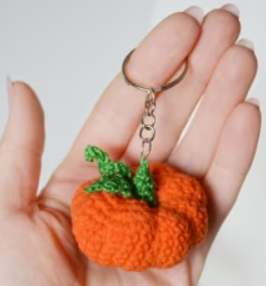
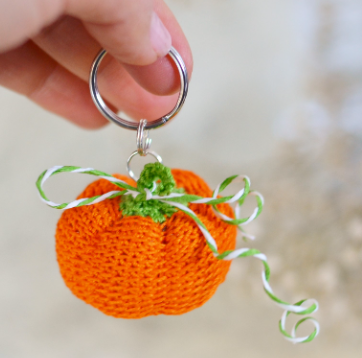
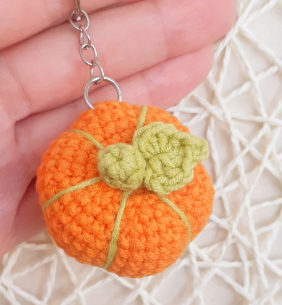
Vine (make 1) in Lush:
Instead of making a leaf, I made a curly vine for the pumpkin as follows:
Row 1: Ch 10, inc in each ch across (18 sts)
Tie off and weave in ends.
Assembly:
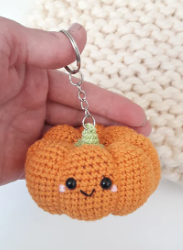
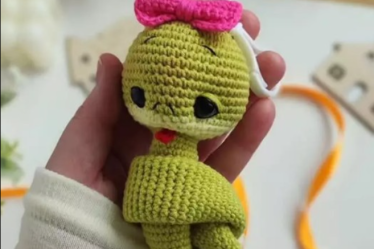
Step 1: Ridges, Eyes and Mouth
First we need to attach all of our facial features to the front panel.
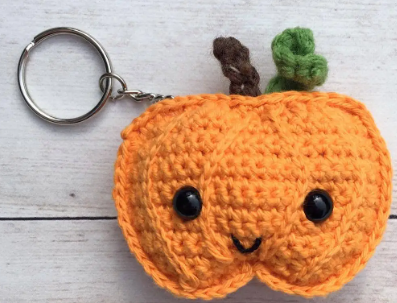
The first thing I did was crochet four separate rows of slip-stitches onto the front panel to give the appearance of pumpkin ridges. I did this by using the surface slipstitch technique and a 1.5mm hook. Hold your hook above the panel, while holding the yarn underneath the panel. Insert your hook through the spot in the panel where you’d like your stitch to go. Yarn over and pull up a loop. Insert your hook through the panel in the next spot, yarn over and pull through the loop on your hook. Continue doing this to complete the ridges. Here is a clearer picture showing where I placed the ridges:
Next, insert 8mm safety eyes and then stitch on the mouth using black crochet thread.
Step 2: Body, Vine and Stem
This part of the assembly is done exactly the same as the Apple Keychain HERE.
Step 3: Finishing Touches
Lastly, I did some needle sculpting to indent the eyes a little bit to add a bit of character. With a length of orange yarn, you can do this by following these steps:
- Insert your tapestry needle behind Eye A (I started with the right eye, but it doesn’t matter);
- Exit the needle from behind Eye B ;
- Reinsert the needle into a different stitch behind Eye B;
- Exit the needle out the back of your pumpkin;
- Thread the yarn tail from Eye A into your needle. Reinsert your needle into a different stitch behind Eye A.
- Exit your needle out the same stitch in the back of your pumpkin.
- Gently tug on both yarn tails to create the sculpting.
- Tie a knot in the yarn tails and poke back inside the piece.